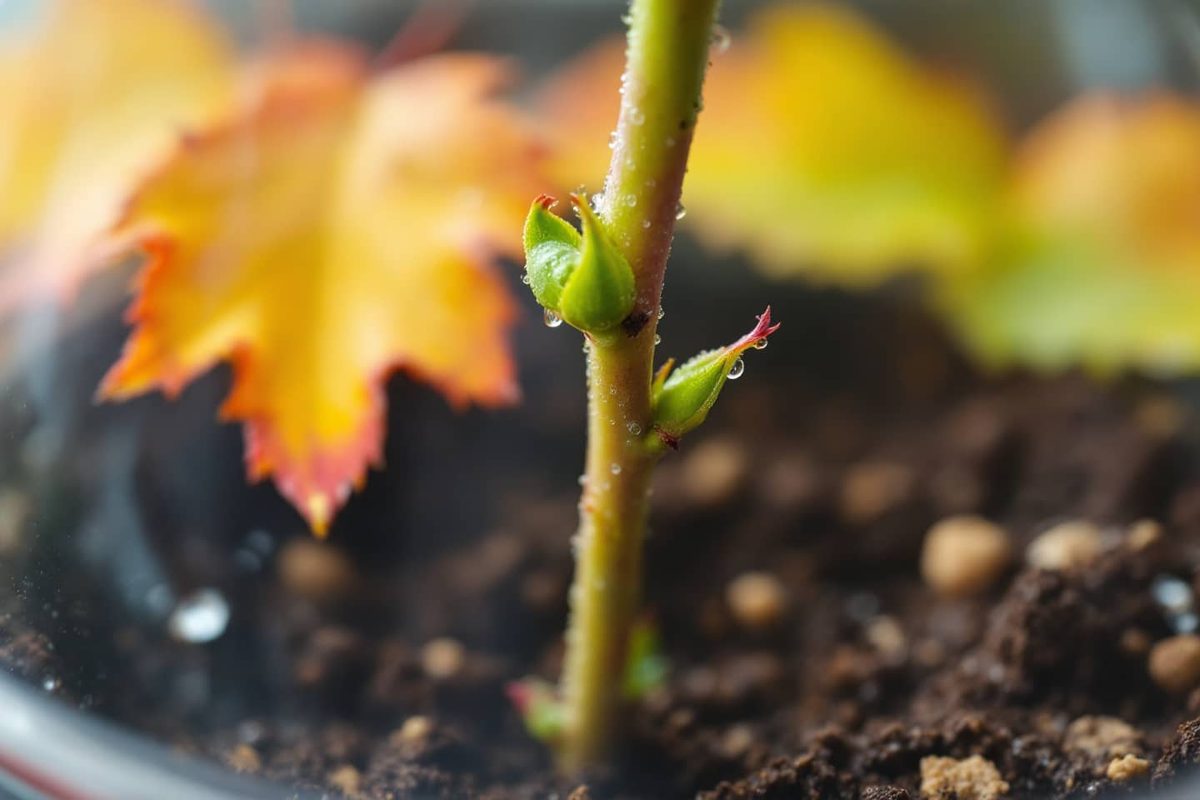
October doesn’t just mean falling leaves. It’s the golden window for propagating roses. You don’t need to spend money on new plants. A single stem is enough.
Horticulturists have used this method for generations. It works on balconies and gardens alike. The soil is cooling down. The plant’s sap is slowing. This is exactly what you want.
Why October Is the Best Time for Rose Propagation
Most people think spring is the time for planting. They’re wrong. Autumn offers unique advantages.
The heat of summer is gone. Young cuttings won’t dry out. The soil retains moisture naturally. This keeps the cutting hydrated without rotting.
The plant is entering dormancy. Stress levels drop. The cutting focuses energy on roots, not leaves. By spring, you’ll have a robust root system ready to grow.
“Autumn propagation limits stress and favors future recovery.”
You get strong roots before winter hits. This means vigorous growth in spring.
Selecting the Perfect Stem
Not every branch will work. You need the right material.
Choose semi-lignified stems. These are from the current year’s growth. They shouldn’t be too tender. They shouldn’t be too hard. Look for healthy, green stems.
The ideal length is 15 to 20 cm. This gives enough surface area for roots.
Check the leaves. The top should have two or three healthy green leaves. These will feed the cutting. Remove everything else.
Preparing the Cutting
Precision matters. A dull tool can crush the stem. Use a clean, sharp secateur.
The Cut
Cut just below a node. This is where the leaf attaches. Cut at a 45-degree angle. This increases the surface area for root formation.
Clean the bottom. Remove all leaves and thorns from the lower half. Keep only the top leaves. These are the engine. They provide photosynthesis energy.
Rooting Hormone
This step isn’t optional if you want results. Dip the cut end in rooting hormone powder. You can buy this at any garden center.
For a DIY alternative, use willow water. Willow bark contains natural auxins. These stimulate root growth. It’s effective and free.
The Soil Mix
Don’t use garden soil. It’s too dense. It holds too much water. The cutting will rot.
You need a mix that drains well but stays moist.
The Winning Recipe:
– 2/3 potting soil
– 1/3 washed river sand
Mix these thoroughly. The sand prevents compaction. The potting soil provides nutrients and moisture retention.
Use a pot or container. It must be at least 10 cm deep. This allows roots to establish without restriction.
Planting the Cutting
Push the stem into the mix. Insert it two-thirds of the way down. Firm the soil around it. Good contact is essential for moisture uptake.
Space the cuttings 10 cm apart. Crowding leads to disease and poor airflow.
Water immediately. The soil should be fresh, not soggy. Overwatering is the #1 killer of rose cuttings.
Creating a Humid Microclimate
The cutting has no roots to drink water. It loses moisture through its leaves. You need to stop this.
Cover the pot. Use a clear plastic bottle cut in half. Place it over the cutting like a cloche.
This traps humidity. It prevents dehydration. The cutting stays turgid while roots form.
Maintenance
Check daily. Open the cover for a few minutes to let air circulate. Stagnant air invites fungus.
Watch the soil. If it dries out, mist it lightly. If you see excessive condensation, leave the cover off for a bit.
Roots take time. Don’t pull the cutting to check. You’ll damage the tiny hairs forming.
By late winter or early spring, you’ll see new growth. That means roots have formed. You’ve multiplied your roses for free.
The process is simple. But it requires patience. The reward is a garden full of your favorite varieties. No cash spent. Just a stem and some sand.
Will you try it this October? The soil is waiting.
How to tell if your rose cutting has rooted
You planted them in October. The ground was cold. Now it is spring. The waiting game is over. But did they survive?
It is tempting to dig everything up in April just to check. Don’t. You might snap fragile new roots.
Look at the stem instead.
Signs of successful propagation
New leaves are the green light. If you see fresh growth, the cutting is alive. It is working.
Try the tug test. Gently pull on the stem. If it resists, it has grip. The roots have anchored into the soil. If it slides out like a loose tooth, it failed.
You can also peek inside the pot. If you see tiny white roots poking out of the drainage holes, you have a winner.
Success usually happens between April and May. But only if you followed the autumn prep.
Transplanting your young rose
Wait until the last frost is gone. Moving a plant while the ground is still frozen is a recipe for disaster.
Choose a sunny spot. Roses need light. Or a large pot on a balcony.
Dig the hole. Be careful. Keep the root ball intact. Torn roots delay recovery.
Plant it.
Add a stake if the plant looks wobbly. Young stems are weak. They need support until they harden.
Water regularly. Not drowning. Just moist. Too much water rots the new roots. Too little dries them out.
Why this matters
You started this in October. No cost. Just a few tools and some patience.
Now you have a rose bush. It will bloom. Abundantly.
This method works for garden beds. Or small urban balconies. It is how professional horticulturists multiply plants without buying expensive stock.
Why stop at one? Start a collection. Different colors. Different scents.
The season is right. The chance is there.