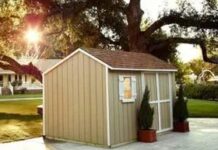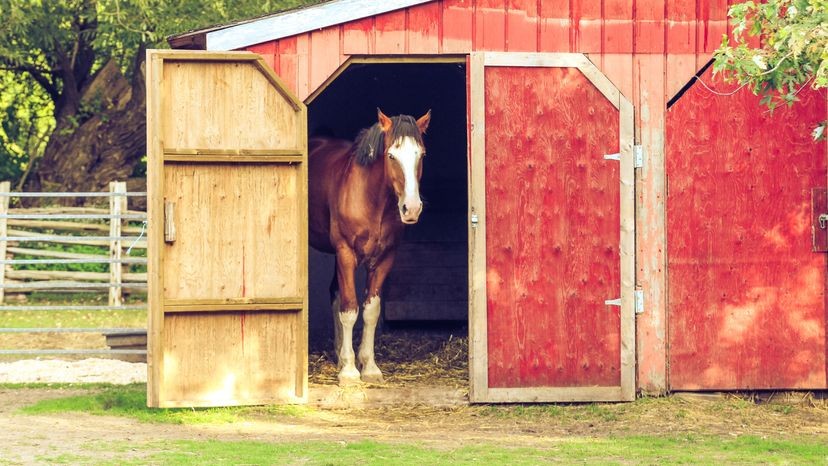
Winter storms don’t wait for permission. If your horse is in a large field, you should plan ahead before the wind picks up and the temperature drops. A three-sided shelter is the fastest and most practical solution. You can protect your animals from the worst weather without it becoming a heavy and expensive barn project.
The key is location. Find flat ground. Avoid low-lying areas where water can pool or flood after a storm. Place the open side away from the prevailing wind direction. This simple change of direction does half the work.
Gathering Materials
You don’t need a hardware store to pay with a credit card. The core materials are straightforward.
- 4×4 posts : Primary structural support.
- 2×4 lumber : Used for wall and roof frames.
- Cement : To set the posts securely in the ground.
- Thick plywood : For inner lining.
- Tin roof : Very durable and waterproof roof.
- Wood or metal panel : Optional exterior cladding if additional wind protection is required.
Step-by-Step Construction
1. Mark and Dig
Draw the footprints of the shelter. Four corners are needed. Dig a 4 feet deep (about 1.2 meters) post hole at each corner. Depth is important. Because the holes are shallow, the posts can sway when the wind blows.
2. Prepare the Posts
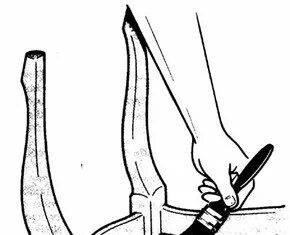
Cut your 4x4s to the right size. You need to cut two posts 10ft (3m) long and two posts 9ft (2.7m) long. The difference in height creates a gentle slope on the roof, which makes it easier for rain and snow to slide off.
3. Set the Posts
Place two 10-foot posts in the front corners of the marked area (the side you want to keep open). Stand them upright in the hole. Fill the hole with cement. Do the same with the two 9-foot posts in the back corners.
4. Wait
This is the hardest part. Wait until the cement has completely hardened. If you rush this step, the whole structure will change as the wood dries and shrinks. Check the drying times with the cement manufacturer. However, it is better to dry too long than to shorten.
5. Frame the Walls
Once the posts are attached, tighten the horizontal beams between the posts with 2x4s to screw. Each wall section requires at least three horizontal sections. This creates a rigid frame. Prevents the walls from bending or warping due to the weight of the roof.
6. Frame the Roof
Assemble the roof frame in the same way. Install the 2x4s to screw into the top of the post from front to back. Again, you need at least three horizontal supports. Place them evenly to distribute the load.
7. Install the roof
Cover the roof frame with a tin roof. Fix it tightly. Tin is cheap, durable and easy to remove snow from. If you want a different look, you can also use wooden boards, but they require more maintenance.
8. Line the Walls
Attach thick plywood to the “inside” of the wall frame. This forms a barrier against wind and cold