Spring is here. The country is waking up. Gardens come to life. But every vegetable gardener is familiar with frustration. Young plants sit there. The leaves turn pale. Crops look shaky. You water them. You give them the sun. Nothing happens.
Soft option? Buy expensive chemicals from a garden center.
What if the real secret to explosive growth was hidden in a bucket full of weeds? Especially nettle fertilizer. This is not about buying powders. It’s about using what nature already gives you. A simple weed can turn a barren place into an oasis. You don’t need complicated chemistry. You need patience and the right plant.
Why nettle works
Nettles could scare hikers. It will burn. But in organic farming, it’s worth its weight in gold. It is rich in nitrogen. It has iron. It contains trace elements. These are exactly the nutrients that tomatoes and leafy greens are begging for.
This is the main ingredient in nettle fertilizer. It’s a natural, effective boost that costs next to nothing.
How to harvest nettles correctly
Timing is important. Spring brings young shoots. These leaves are full of nutrients. Wait until you see them. Do not wait for the plant to bloom.
Flowering uses up the active substances. It also spreads seeds. You don’t want unwanted plants growing in your garden later. So harvest early. Wear thick gloves. The pain is real. Cut off the green shoots. Do the work in the morning when the plants are fresh.
The need for water
For every kilo of nettles, you need ten liters of water. But not just any water.
Tap water is treated with chlorine. Chlorine kills bacteria. You need these bacteria. They are the engine of fermentation. They break down plant material into usable nutrients. Chlorine stops this process abruptly.
Use rainwater instead. It’s free. It’s soft. It lacks the harsh chemicals that kill your microbial helpers. If you live in a dry area, let the tap water sit for 24 hours to allow the chlorine to evaporate. But the rain is the best.
The Setup: Bucket and tools
You need a container. Plastic or wood work well. Do not use metal. The fermentation process is acidic. Acid eats metal. Rust destroys your fertilizer and pollutes your soil.
You also need a sturdy stick. You will stir it. Often.
Recipe and fermentation process
Here is the ratio: 1 kg of chopped nettle to 10 liters of water. Coarsely chop the nettle. Do not blend them into a smoothie. You want surface. A larger surface area means faster extraction. Cut the stems with pruning shears.
Drop the greenery into the water. Dip them if you can. Cover the bucket. Do not close it tightly. During fermentation, gas is produced. If you close it, it may explode. Use a cloth or a loose lid.
Now the hardest part. Stir.
Take a cane every day. Mix well. This increases oxygen. Oxygen feeds aerobic bacteria. These bacteria do the heavy lifting. If you forget to mix, the mixture will become anaerobic. It smells awful. It turns into mud. This mud is useless for your garden.
Stir for a few minutes. Do it at the same time every day. It becomes a habit. Ritual.
Completion sign
How do you know it’s done? Depending on the temperature, it lasts about two weeks. The scent changes. It starts with down-to-earth. Then it becomes strong. Like ammonia. That’s actually a sign that it’s working. Nitrogen is released.
When the bubbling stops and the liquid turns dark brown, it’s ready. Strain the solids. You now have a powerful liquid concentrate.
This is just the beginning. You need to dilute it before using it on your plants. If you use it at full power, your roots will burn. But that is the subject of the next step. For now, you have the basics. You have green gold in the bucket.
Critical 10-day window: Watch for change
Time is the most valuable tool in this process. When spring temperatures are 15-20 degrees Celsius, fermentation typically takes about ten days. Observing this cycle on a daily basis is fascinating to anyone who wants to understand how living systems break down matter.
Surface bubbles are a sign of active bacteria
During the first days, a visual change occurs. A thin layer of foam covers the edge of the container and when you stir, countless small bubbles rise to the surface. This release of gas is a direct sign of fermentation. Microorganisms actively break down plant fibers, releasing carbon dioxide and minerals into the water. As long as the bubbling is strong, the mixture must remain in the shade and must be stirred daily.
Visual calm and a sign of completion
On about the tenth day, the process is complete. Now the dark and opaque liquid no longer forms bubbles even after vigorous stirring. This visual calm means that fermentation has ended. You will also notice a distinct smell, reminiscent of a barn or wet hay. It may seem intense at first glance, but this pungent aroma is proof that the preparation is successful and rich in nutrients.
Filtration: Extracting and storing liquid gold
Once fermentation is complete, you need to act fast. Leaving the mixture for a longer period of time can cause it to rot and negate the benefits you get. Juice extraction becomes a priority.
Separate the juice from the plant waste
Careful filtration is the key to obtaining a pure, stable substance. Start with a sieve with large holes to remove most of the sludge. For a finer extraction, pour the liquid through an old cotton cloth or burlap bag. This step ensures that solid particles don’t clog your watering can later. Store the resulting amber liquid in opaque containers away from light and heat, where it will keep for several months without losing its potency.
Smart recycling of plant waste
When using zero waste, the remaining solids, often called must, do not end up in the trash. This spongy residue is full of beneficial bacteria. Layer them thinly on top of the compost pile. They act as a powerful natural activator that accelerates the decomposition of other organic waste and enriches the future soil with microscopic life.
Strict 10% rule: neutralize raw power
The product you have is pure nettle concentrate. Applying it directly to plants is a big mistake. You need to dilute it to protect the delicate root system of young plants.
Simple calculation for correct dilution
When used as a direct soil fertilizer, the golden rule is a 10 percent dilution. The calculation is simple, but must be precise: Pour 1 liter of pure fermented extract into a watering can, then fill it with 9 liters of clean water. Rainwater is ideal. This precise dosing produces immediately available nitrogen without causing osmotic shock that damages plant tissue.
The fatal mistake is to use it undiluted
Giving in to the temptation of “more is better” is common in gardening. The use of undiluted or too concentrated extract causes root burns. A huge dose of pure nitrogen attacks the invisible root hairs underground. Instead of increasing vigor, this fatal flaw causes the plant to wither visibly and dry up from the inside. Moderation and accuracy are the only ways to make this ecological practice successful.
Timing matters more than the mixture itself
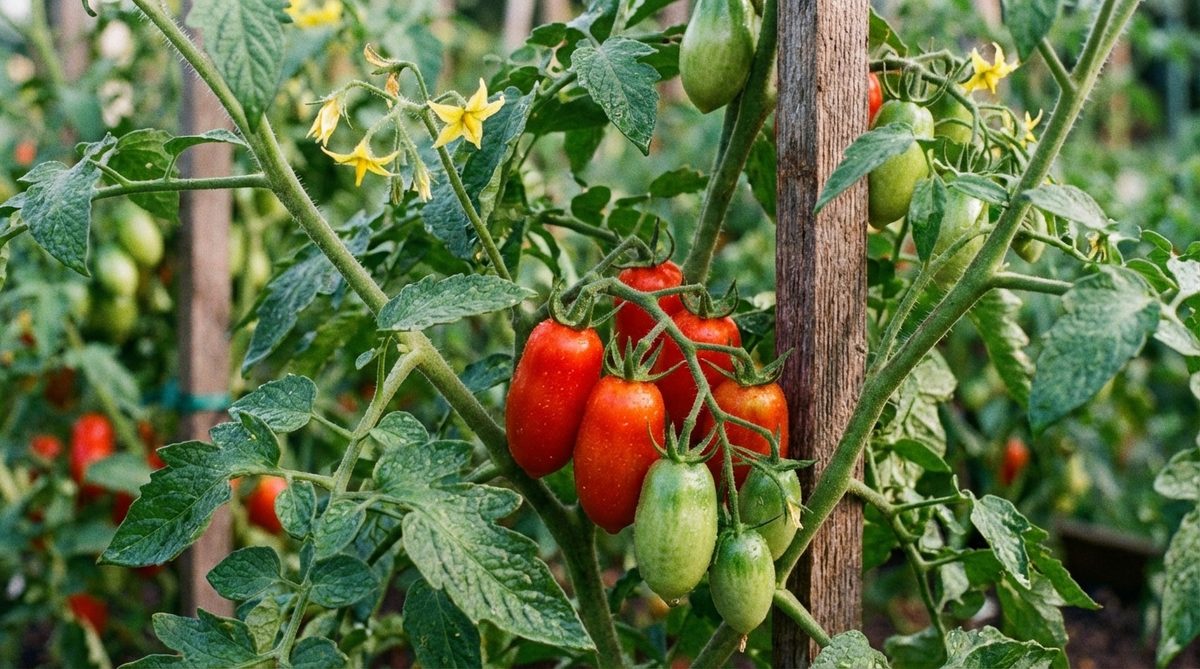
Tomato plants are gluttons. They will eat everything you give them, and if you get it right, the payoff is massive. But applying that liquid gold requires more than just pouring it out. Timing is everything.
Do not water at noon. The heat will evaporate the solution before the roots can touch it. It also shocks the plant. That’s a quick way to wilt your hard work.
Instead, aim for the early morning chill or late evening. You want the soil to be cool. The goal is direct application. Aim strictly for the base of the plant. Do not spray the leaves.
Why? Because wet foliage plus nitrogen is a recipe for disaster. Specifically, it invites downy mildew. This fungal disease loves moisture and organic matter. It can decimate a tomato crop before the first fruit even sets. Keep the leaves dry. Keep the roots happy.
The visible transformation
You will see results fast. Seriously.
Within days, the change is obvious. Leaves shift from a pale, hungry green to a deep, dark emerald. That color change signals active chlorophyll production. The plant is eating.
Stems thicken. Vertical growth jumps.
This happens because the fermentation process concentrates available nitrogen and other nutrients. The plant doesn’t have to waste energy breaking down complex compounds. It absorbs what it needs immediately. The root system wakes up. Growth accelerates. Natural resistance spikes.
A weak, stunted seedling turns into a robust, fruit-laden vine.
DIY autonomy in your garden
Making your own nettle fertilizer isn’t just about saving money. It’s about taking control. You are reconnecting with natural cycles. You are validating a method that works.
The transformation in your vegetable patch proves that autonomy is within reach. It is responsible. It is rewarding.
So grab a pair of gloves. This weekend, start your brew. Let the garden thrive.
The harvest will be waiting.


